Turning a plain cargo van into a dream camper is one of the most rewarding projects out there—nothing beats hitting the road knowing your setup can handle freezing nights, scorching days, or weeks of rain.
But pretty much every builder hits the same early roadblocks: condensation dripping down the walls, cold spots that make sleeping miserable, or stuffy air when you close everything up tight.
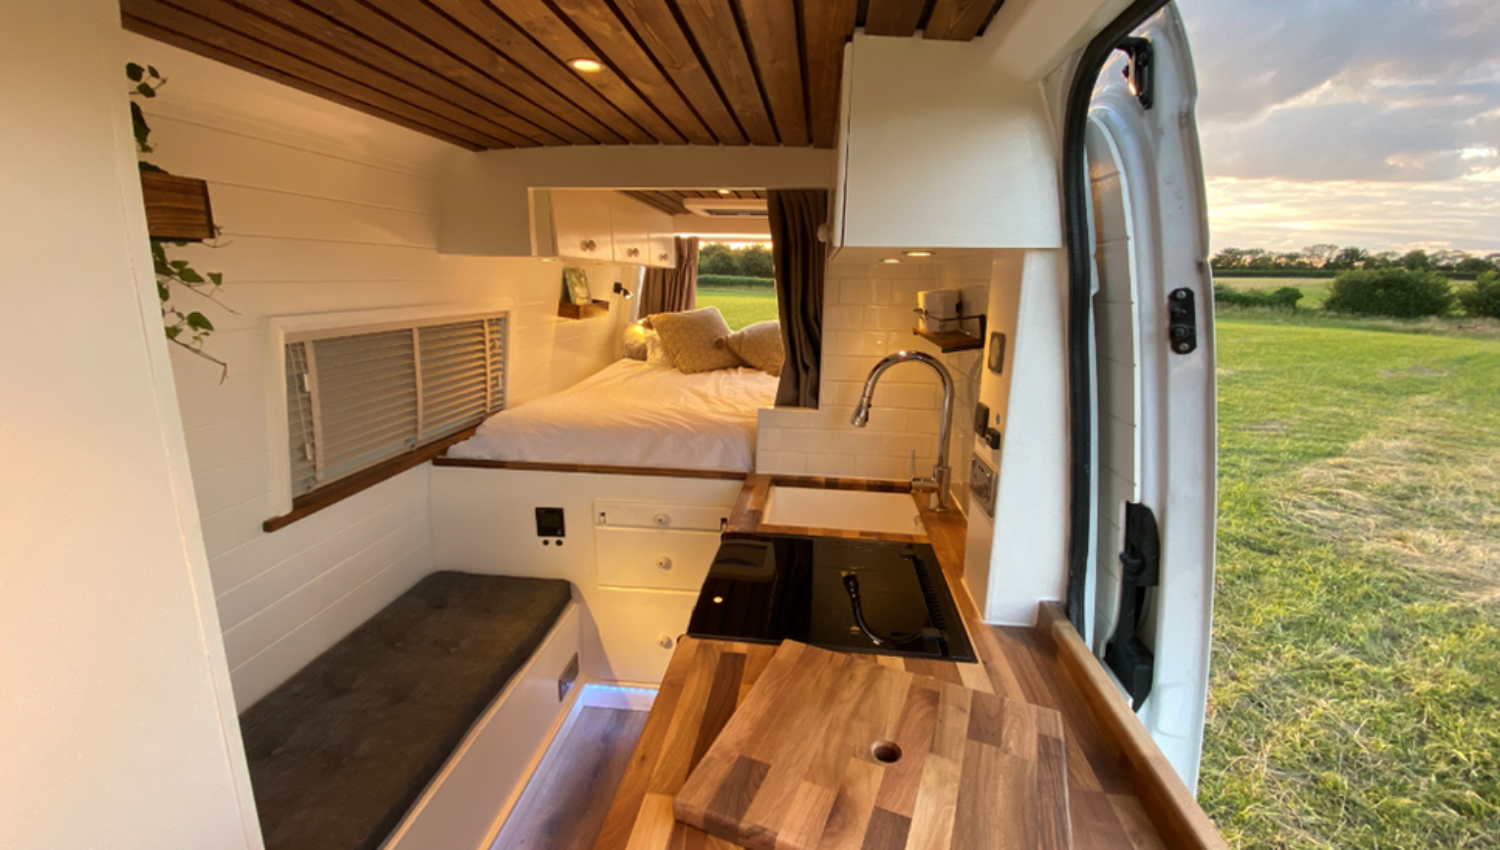
Insulation, windows, and ventilation are where most of the comfort lives (or dies). Get them wrong, and you’re fighting the elements every trip. Get them right, and the van starts feeling like a proper little home—warm when it’s cold outside, cooler in summer, and always breathable without drafts.
People ask the same questions over and over in forums, Reddit threads, and search bars: what’s actually worth using for insulation, how thick should it be in different spots, are double-glazed windows worth the extra money, how do you cut holes for windows without ruining the van, and how do you stop mould before it starts. Those are the ones that keep coming up because they make the biggest difference in real-world use.
Whether you’re building a weekend rig, a full-time setup, or something in between, sorting these out early saves a ton of headaches later. Here’s what actually works based on what builders run into day-to-day.
What is the Best Insulation Material for a Campervan Conversion?
There’s no single “best” material—it depends on your climate, budget, and how much effort you’re willing to put in.
Popular options include 3M Thinsulate (a synthetic batting that’s lightweight, moisture-resistant, and easy to stuff into irregular spaces), polyiso rigid foam boards (high R-value per inch, great for flat areas like floors and roofs), closed-cell spray foam (excellent air sealing but harder to DIY and can off-gas), sheep’s wool or recycled denim (natural, breathable, and good at regulating humidity), and XPS or EPS boards (cheaper but lower performance in moisture-heavy setups).
Thinsulate often gets praised for balancing thermal performance, sound deadening, and ease of install without absorbing water. One builder who switched to it after trying rigid foam said it filled the van’s ribs perfectly without gaps, cutting road noise dramatically on highway drives.
Polyiso shines for maximum insulation in limited space, though some note it can lose effectiveness in very cold temps. Avoid fiberglass if moisture is a concern—it holds water like a sponge.
Start by thinking about your priorities: extreme cold calls for higher R-value materials like polyiso or Thinsulate, while humid areas benefit from hydrophobic or breathable options.
Many builders mix them—rigid boards on big surfaces, flexible batting in tight spots.
We have a wide range of campervan insulation options available.
How Do I Insulate My Van Floor, Walls, and Ceiling for Year-Round Comfort?
The process starts with prep: clean the metal thoroughly to remove oils or dirt, then add a sound-deadening layer if road noise bothers you (many use butyl-based mats).
For the floor, lay a vapor barrier or radiant barrier first if you’re in a wet climate, then fit insulation snugly between ribs—rigid foam boards work well here since floors take weight and need durability. Cover with plywood or subfloor.
Walls and ceiling follow a similar layering: start with a radiant barrier against the metal for heat reflection, then pack in your main insulation (Thinsulate or wool for irregular ribs, foam boards cut to fit). Use spray adhesive or mechanical fasteners to hold everything in place without compressing it.
Finish with a vapor barrier on the warm (interior) side in cold climates to control moisture, though some skip it with hydrophobic materials.
Tools you’ll need: utility knife for cutting, tape measure, adhesive, and templates from cardboard for tricky curves.
The goal is full coverage—no gaps for cold bridges. One full-timer who used Thinsulate throughout reported the van stayed noticeably warmer in winter without cranking the heater, and quieter on long hauls.
This setup keeps the van noticeably warmer in winter and cooler in summer, plus it quiets things down on long drives.
Do I Need a Vapour Barrier or Radiant Barrier in My Van Insulation Setup?
It depends on your setup and location. A vapour barrier (like polyethylene sheeting) goes on the warm side of insulation in cold climates to stop interior moisture from migrating into the walls and condensing on cold metal.
Radiant barriers (foil-faced materials) reflect heat away and add a bit of extra thermal resistance, often used against the metal as a first layer.
In humid or variable climates, a vapour barrier can trap moisture if not paired with good ventilation—leading to mould.
Many modern builds use hydrophobic insulation (like Thinsulate) that doesn’t need a full barrier because it doesn’t absorb water. Radiant barriers are popular for hot/cold swings as they help block radiant heat.
If you’re unsure, test with a small section or monitor humidity after install. A simple hygrometer shows if moisture’s building up. Builders who skipped barriers with breathable materials often report fewer issues in mixed climates.
Which Types of Windows Are Ideal for a Campervan, and How Do They Impact Ventilation and Privacy?
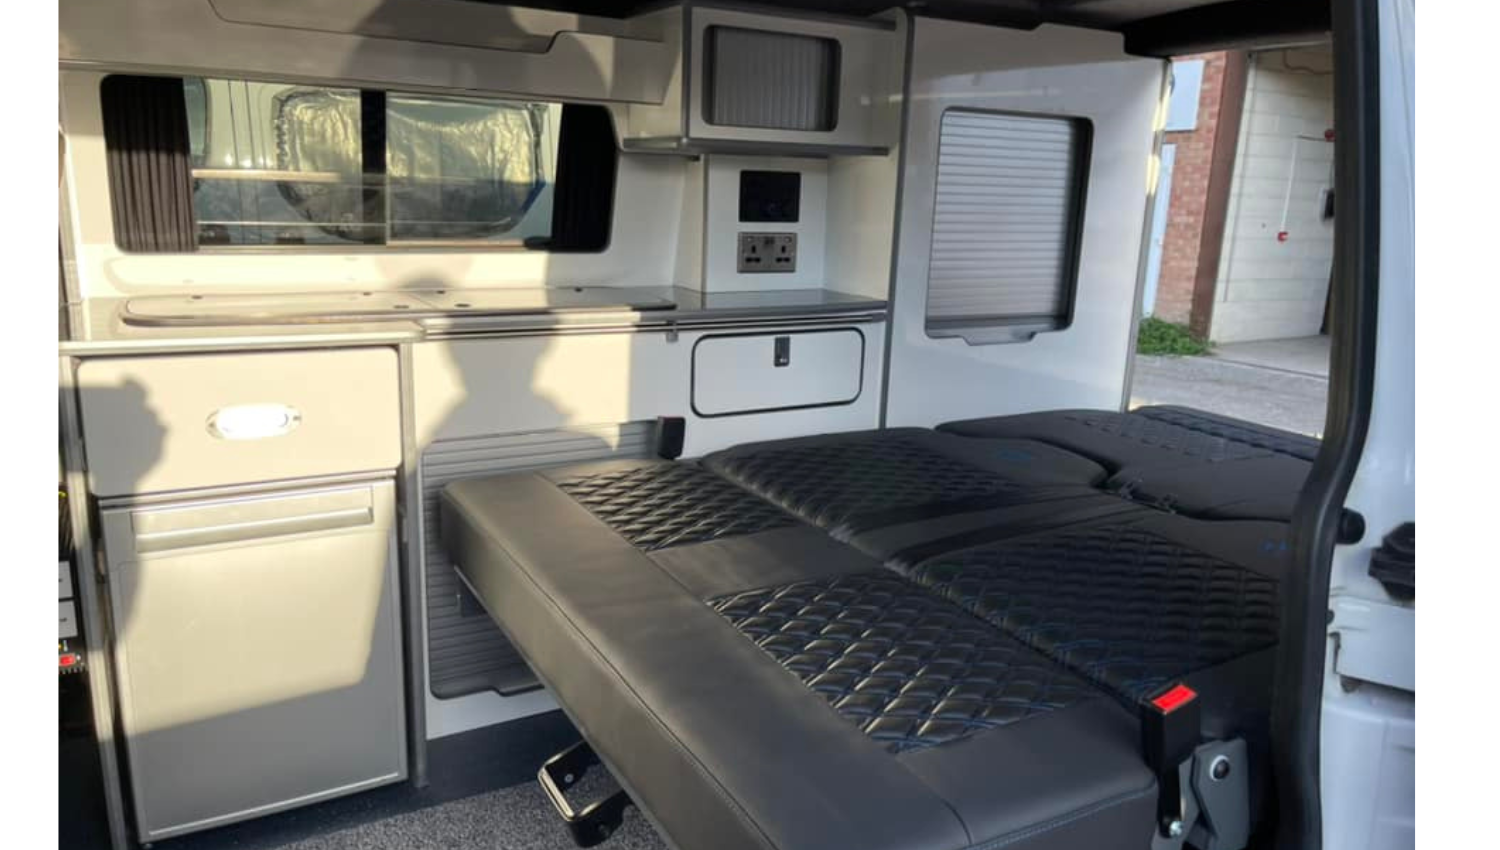
Common types include awning (hinged at the top, great for rain-proof ventilation), sliding (easy to open partially for airflow), fixed (no ventilation but maximum light and security), and pop-out or crank-out for more airflow options.
Awning windows excel for ventilation—they create a scoop effect for cross-breezes while keeping rain out, and they often come with built-in screens and privacy shades. Sliding ones are simple and cheap but can leak if seals wear.
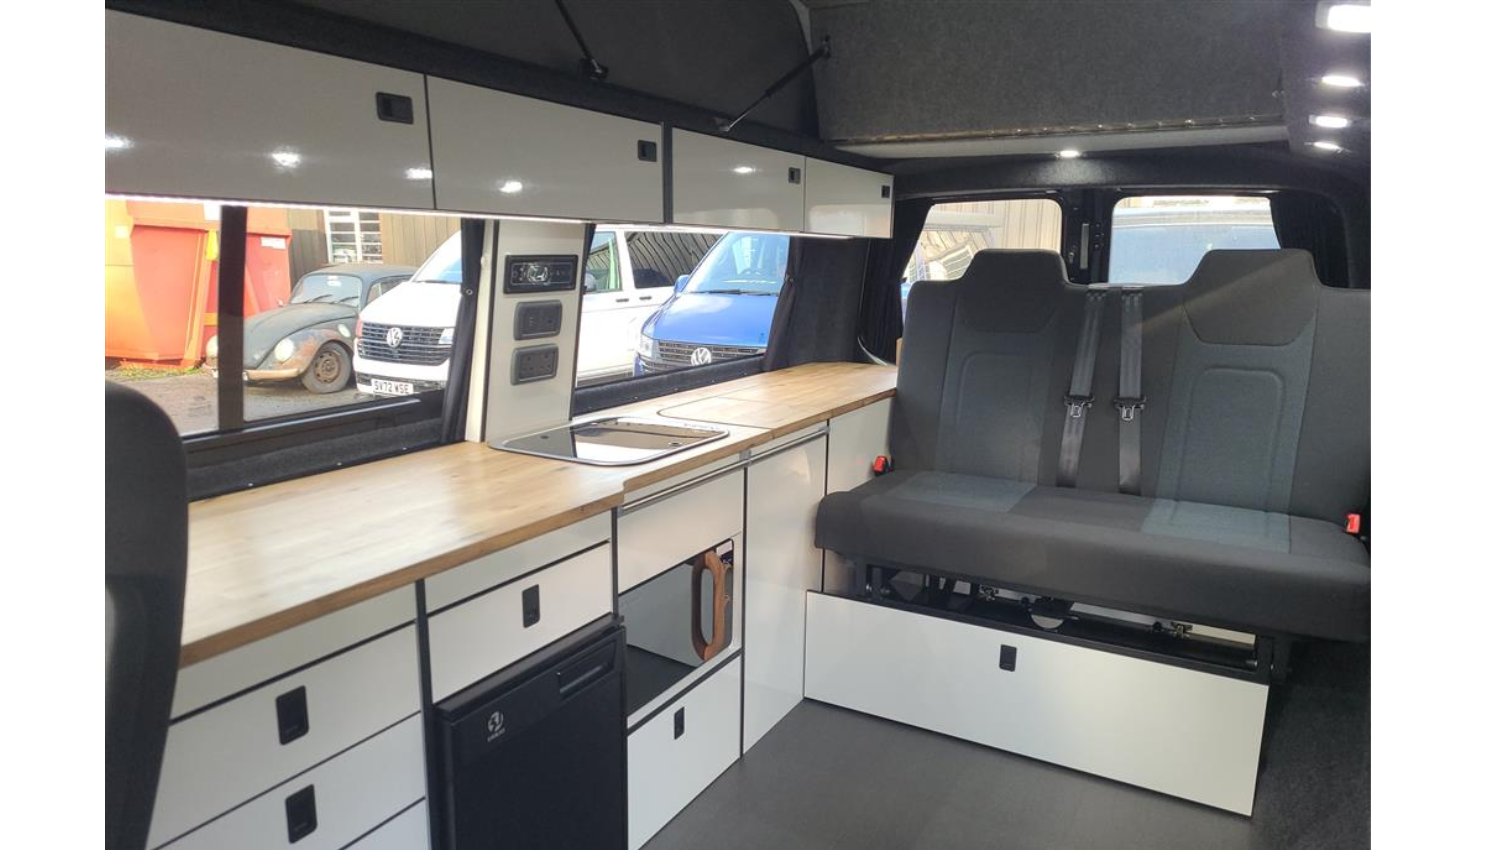
Fixed windows boost natural light and insulation but rely on other vents for air movement.
For privacy, tinted glass, frosted films, or removable covers work well—especially useful for urban stealth camping.
Windows add light that makes the space feel bigger, but too many can hurt insulation and security. Balance is key: a couple of opening ones for fresh air, plus fixed for views.
One builder who added awning windows said they transformed stuffy cooking sessions into comfortable ones with easy rain-proof airflow.
Take a look at AutoShield’s Campervan Windows here or take a look at our thoughts on which windows are better for conversions, glass or acrylic windows and why.
How to Safely Install Windows in a Van Without Damaging the Structure?
Accuracy is everything—measure twice (or three times), use a template from the manufacturer, and mark cut lines with a sharpie and tape to protect paint.
Drill pilot holes at corners, then cut with a jigsaw (fine metal blade) or nibbler for clean edges. Deburr sharp metal edges to avoid cuts.
Reinforce the opening if needed (some add framing), apply a high-quality automotive sealant (like Sikaflex or butyl tape) around the perimeter for waterproofing—avoid silicone if it contacts certain adhesives.
Position the window, clamp it, and secure with screws or the provided hardware.
Common pitfalls: uneven cuts causing poor fit and leaks, rushing sealant application (let it skin over), or not testing for rattles post-install. Wear gloves and eye protection—metal shards are sharp.
After, check for leaks with a hose test. A good seal kit makes the job smoother and prevents future headaches. One DIYer shared how their first cut went crooked by a couple inches, but careful sealing and trim hid it—no leaks after years on the road.
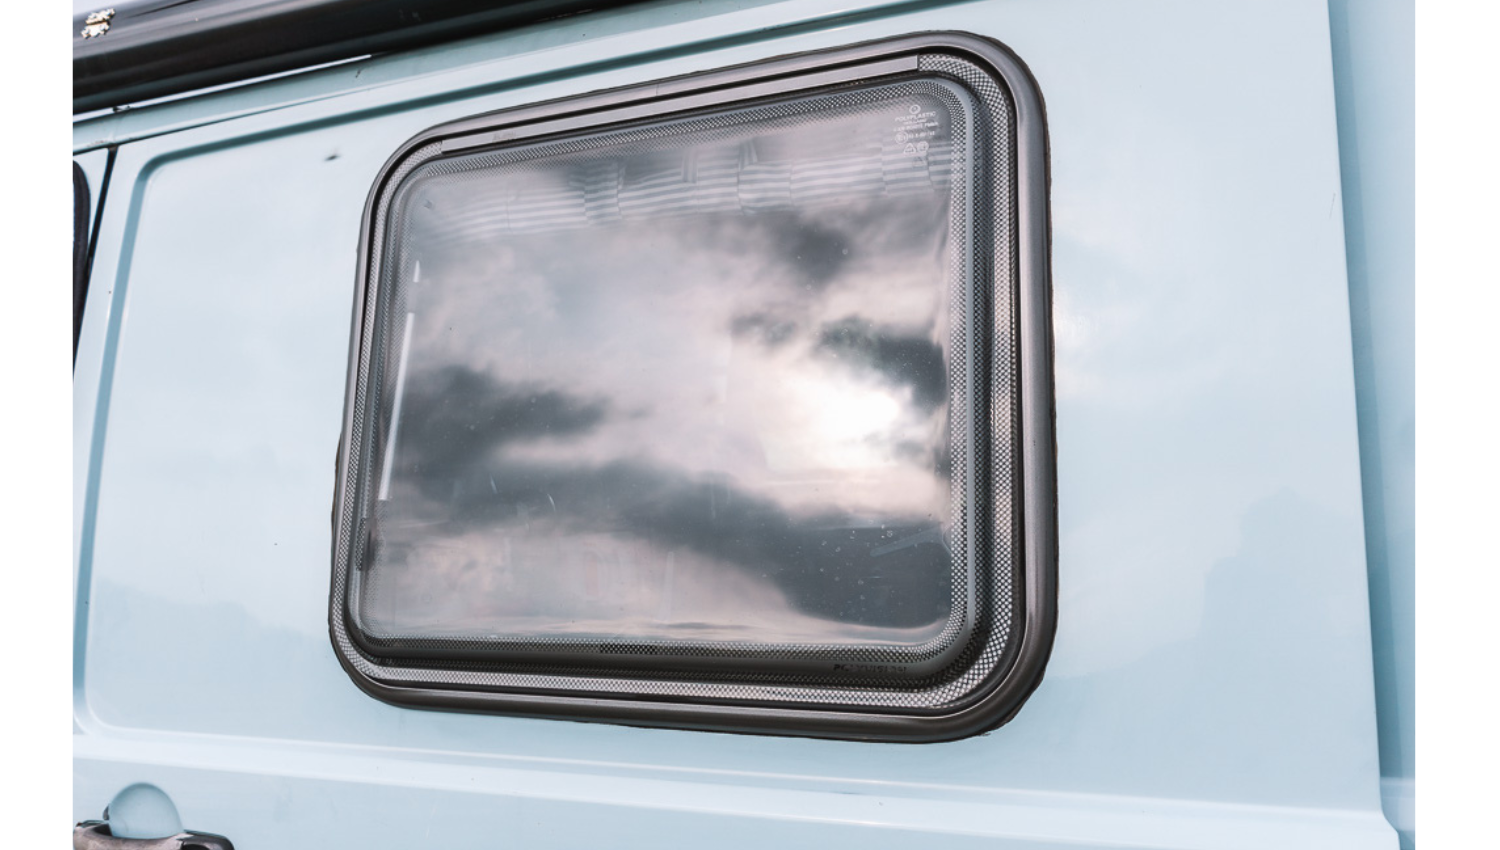
Are Double-Glazed Windows Better for Insulation and Reducing Condensation in a Campervan?
Yes, in most cases—double-glazed (or dual-pane) windows have two layers with an air or gas gap, giving better thermal resistance (lower U-value) than single-pane. They cut heat loss/gain, reduce outside noise, and dramatically lower interior condensation because the inner pane stays warmer.
Single-pane windows fog up easily in cold weather and let more heat escape, which strains heating systems. The main downsides are higher cost, slightly more weight, and potential seal failure over time (though quality ones hold up well).
For four-season or frequent cold-weather use, double-glazed are usually worth it—they pair nicely with solid insulation to keep the whole van comfortable.
Builders in colder climates often say the upgrade paid off quickly by reducing morning wipe-downs and heater runtime.
How Much Insulation Thickness Should I Use in Different Parts of the Van (Walls, Roof, Floor)?
It varies by material and climate, but general rules help: walls and roof often get 1-2 inches (25-50mm) to fill rib depths without losing too much space—Thinsulate or wool at 1.5-2 inches performs well.
Floors typically take 0.5-1 inch (12-25mm) of rigid foam to avoid raising height too much while still blocking cold from below.
In extreme cold, prioritise thicker on the roof (exposed to sun/heat) and walls. Trade-off is interior space: over 2 inches on walls can feel cramped.
Calculate based on R-value needs—aim for consistent coverage. Test with a thermometer inside vs. out to see real gains.
What Are the Best Ways to Prevent Condensation and Mould After Insulating a Campervan?
Condensation happens when warm, moist air hits cold surfaces—cooking, breathing, and showers are big culprits. Good insulation reduces cold spots, but ventilation is the real fix.
Key steps: install a roof vent fan (like Maxxair) to exhaust humid air, especially during cooking or after showers. Open windows for cross-breezes when weather allows. Use moisture absorbers (desiccant packs or small dehumidifiers) for storage.
Wipe down surfaces regularly, and avoid drying clothes inside.
Choose hydrophobic insulation to avoid trapped moisture, and ensure no gaps where air can stagnate. In damp climates, a small fan for constant low-level circulation helps. Watch for musty smells or black spots early—vinegar wipes clean minor issues.
Consistent airflow and dry habits keep mould at bay. Many builders share horror stories of mould outbreaks from poor ventilation, like one who had to rebuild after ignoring early signs under the mattress—now they run a fan religiously and haven’t had issues since.
Which Ventilation Options Work Best with Insulated Campervan Windows to Keep Air Fresh?
Pair opening windows (awning or sliding) with a powered roof vent fan for the best results—windows provide natural cross-flow, while the fan pulls stale air out (or pushes fresh in) even when windows are closed.
Roof fans like Maxxair or similar models with rain covers and thermostats work great for insulated setups—they run quietly on low power and handle rain. Add passive vents if you want options without electricity.
Position for efficiency: intake low, exhaust high. This combo keeps CO2 low, reduces odours, and prevents stuffiness without sacrificing insulation benefits. Builders often say adding a fan after struggling with foggy mornings made the biggest comfort jump.
How Do I Combine Insulation, Windows, and Ventilation for an Energy-Efficient, Comfortable Campervan?
Think layers: solid insulation throughout to minimize heat loss, quality windows (double-glazed where possible) to reduce weak points, and active ventilation to manage moisture without constant drafts.
Start with full insulation coverage, add reflective barriers for extra efficiency, then install windows that balance light/ventilation (a mix of fixed and opening). Top with a reliable roof fan for controlled airflow—solar-powered if off-grid.
Seal everything well (windows, edges) to avoid leaks. Monitor with a cheap thermometer/hygrometer to tweak—many builders add reflective covers for windows in extreme heat or cold. This integrated approach cuts heating/cooling needs, keeps the interior dry and fresh, and makes long trips far more enjoyable.
One converter who layered Thinsulate, awning windows, and a Maxxair fan reported surviving -20°C winters with minimal heater use—no more waking up to ice on the ceiling like in their early uninsulated attempts. Small upgrades here pay off big in comfort.
About the author : Shield Auto Care
Related posts

Popular products
-
 Fully Tailored HD Boot Liner For Land Rover Discovery 4 2009-2016
£39.99
Fully Tailored HD Boot Liner For Land Rover Discovery 4 2009-2016
£39.99
-
 Universal Heavy Duty Waterproof Car Cover
Original price was: £44.99.£39.99Current price is: £39.99.
Universal Heavy Duty Waterproof Car Cover
Original price was: £44.99.£39.99Current price is: £39.99.