


Description
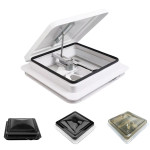
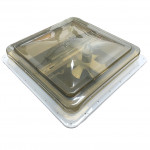
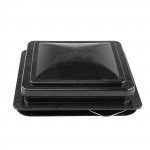
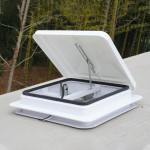
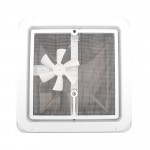
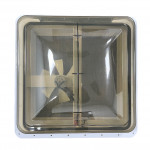
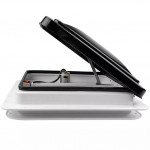
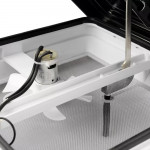
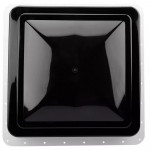
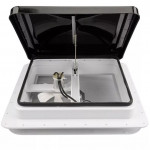
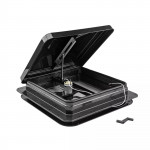
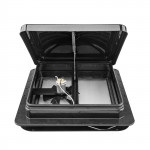
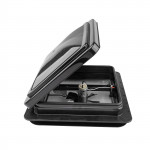
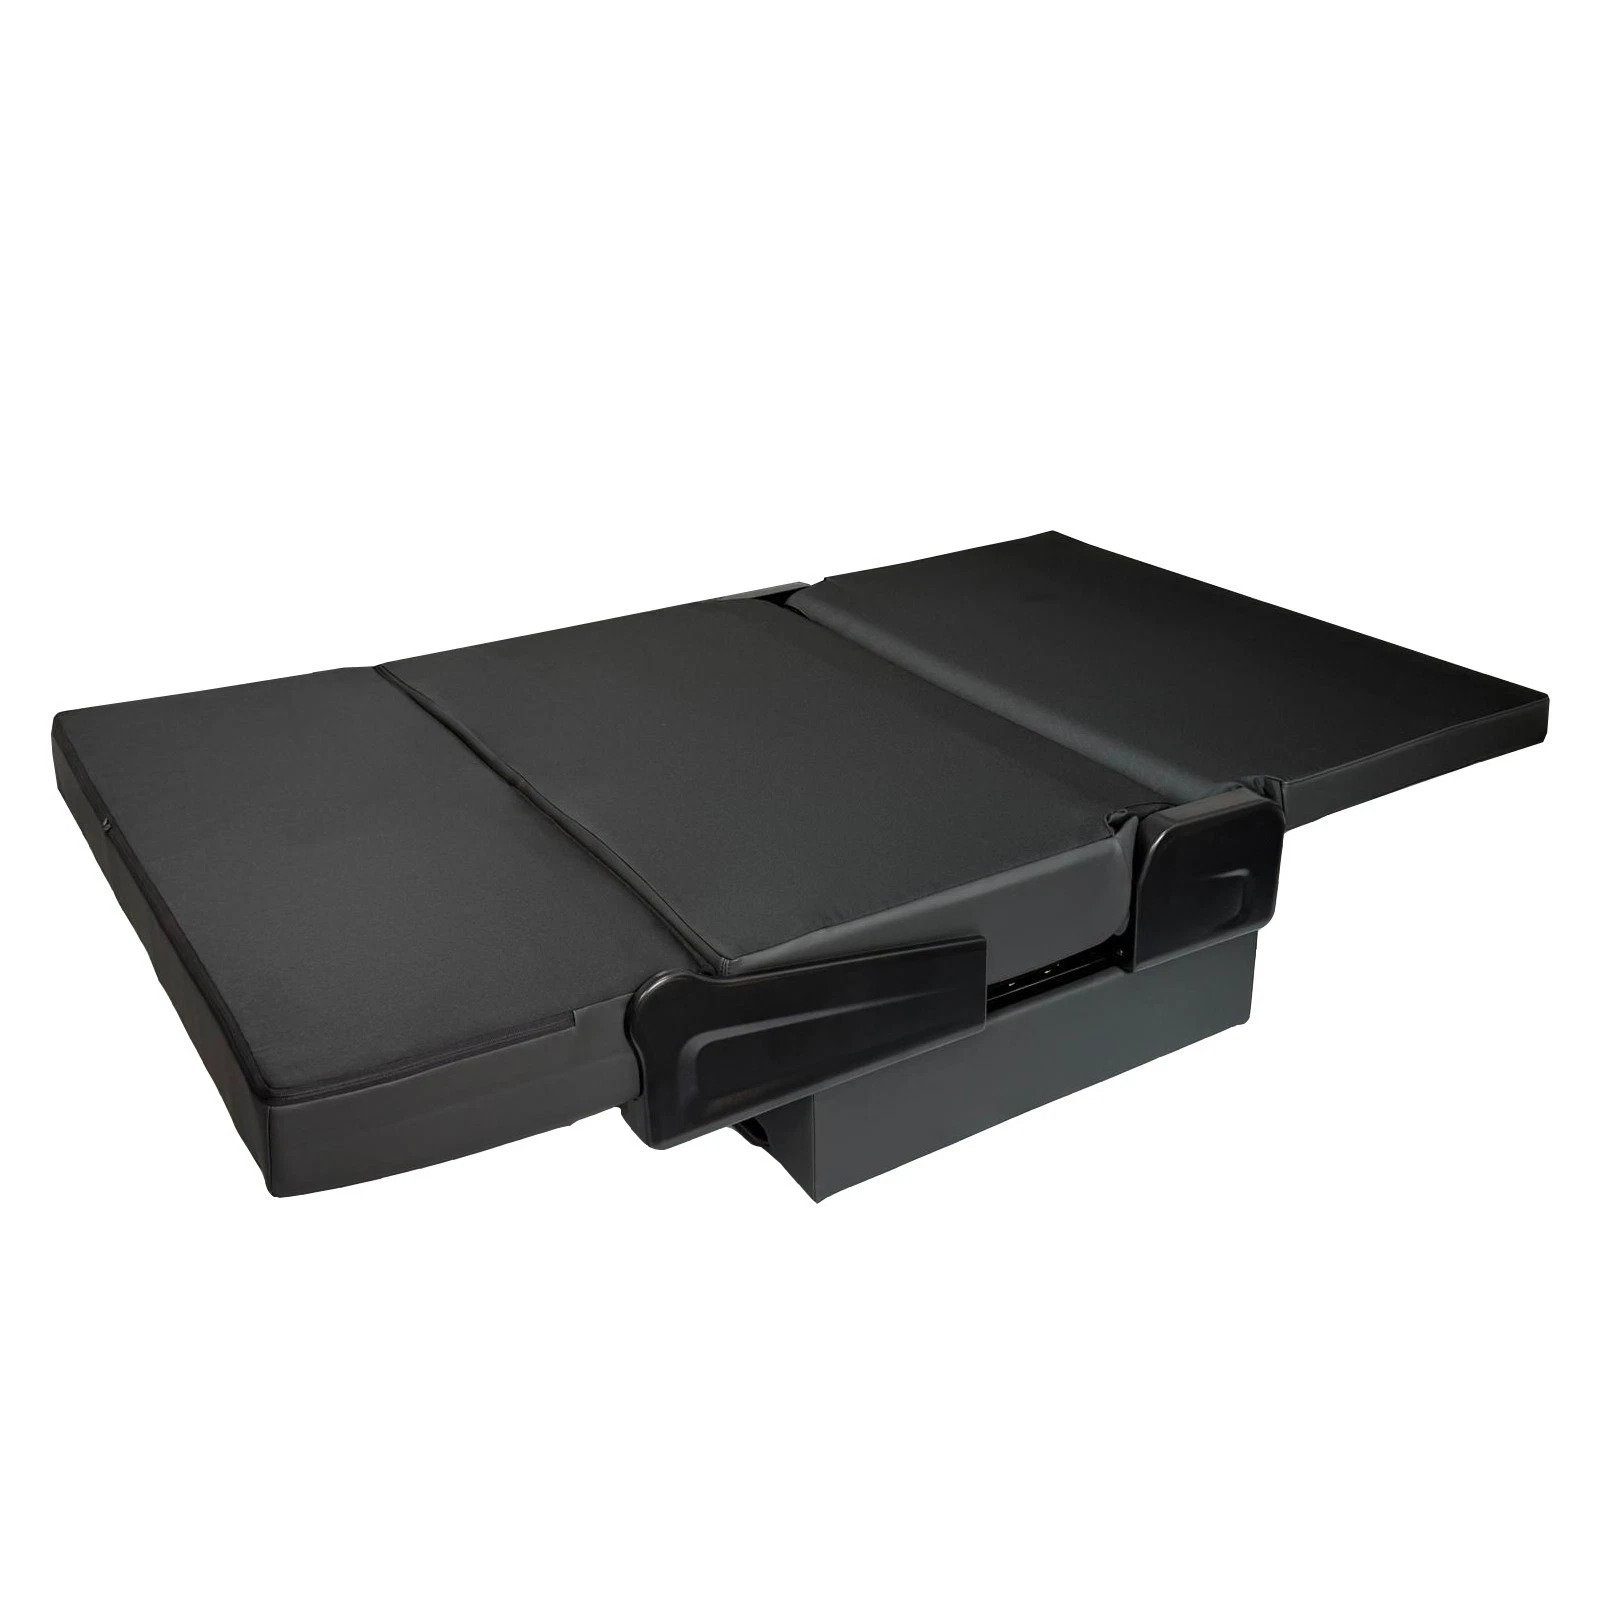
Improve airflow in your campervan, motorhome, caravan or horsebox with this 14″ x 14″ roof vent, complete with a built-in 12V electric fan. Available in four lid colours — White, Black, Jet Black, and Smoke — it’s the perfect blend of function and style for your van conversion.
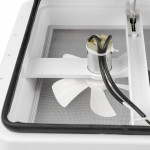
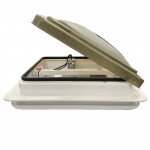
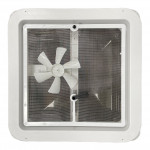
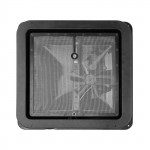
Designed to fit standard 355 x 355 mm roof openings, the vent features a manually operated lift-up lid, a quiet built-in fan for efficient ventilation, and a fixed fly net to help keep insects out.
Made from durable, UV-resistant plastic, it offers long-lasting performance in all weather conditions. Whether you’re parked up or on the move, this roof vent helps maintain comfort and airflow inside your vehicle.
Overall vent Size: 420mm x 420mm
Cut hole size: 355mm x 355mm
Fitting Instructions:
1. Place the internal cap (garnish) on top the roof and draw a template using a felt tip, then add another 5mm to the top and left side.
2. Drill pilot holes in each corner and cut along the template line. Be certain to avoid ribs, braces, and electrical wiring (internally).
3. Check that the internal cap fits through the aperture If not, cut out opening as needed and then smooth down any rough edges and primer the exposed with metal oxide paint.
4. Make a wooden frame around the aperture to the thickness of the interned finish depth required, taking in to account the roof ply and lining.
5. Glue the frame with Shield Stick and Seal (polyurethane) and clap in place and allow the adhesive to set.
6. Screw the internal cap to the timber frame and seal around the lip from the top of the roof using flexible putty or Sikaflex.
7. Place the external vent over the lip of the internal cap and mark the screw holes with a centre punch. Then remove vent from roof and drill all screw hole locations with a 1/16’’ pilot hole, and seal with primer paint. NOTE: If installing a power or lighted vent, provide power source of 12 volts DC, using 18-gauge wire.
8. Place putty strips/ Sikaflex flex bead around the opening on roof ½’’ (1.27cm) from edge of opening. (Be sure putty strips cover entire area to be sealed.) Use double layers of putty strip or extra Sikaflex if necessary, to seal ribbed areas.
9. Insert vent into opening on top of putty strips.
10. Use an screw driver or nail to locate and line up corner drilled holes with the corner screw holes in vent frame. CAUTION: Install vent with lid hinge side toward front of vehicle. Screw corner screws first to hold vent in place then screw all remaining vent mounting screws. Tighten just enough to compress putty tape. Over-tightening may cause Plastic Base Vents to crack.
11. Using the appropriate roof coating for your roof surface, coat screw heads and vent frame edge and seal around the frame if necessary.
12. Your installation is complete
If you are retrospectively fitting the roof vent you must take care when cutting the aperture as not to damage the existing head lining and leave enough to cover the timber frame if required.
Additional information
| Weight | 1.8 kg |
|---|---|
| Dimensions | 44 × 44 × 15 cm |
| Colour | White, Smoke, Black, Jet Black |
Related Products


Price range: £189.99 through £329.99


